XPForce is available for 32-bit and 64-bit Windows, and is currently in testing for 64-bit Linux. Please see the Linux information page for full details.
Mac support is planned but has no timescale right now.
XPForce is available for 32-bit and 64-bit Windows, and is currently in testing for 64-bit Linux. Please see the Linux information page for full details.
Mac support is planned but has no timescale right now.
So far, it has been tested on:
- Microsoft Sidewinder Force Feedback 2
- Logitech G940
- Logitech Force 3D Pro
- Iris Dynamics Yoke
Do you use something else successfully? Please let me know!
XPForce will send Force Feedback commands to any joystick that Windows recognises as supporting forces. You don't necessarily need customised drivers to do this - for example, the old Microsoft Sidewinder Force Feedback 2 works happily on Windows 8.1 and newer despite only using Windows' built-in drivers.
If your joystick doesn't have motors built in to provide force feedback, there's no way that XPForce can send them any commands! Please check before buying that it's compatible with your joystick, and that your joystick does in fact have force feedback capability.
Some sticks do seem to need "official" drivers rather than the standard Windows ones. Even if it works just fine as a standard controller, the force aspect might not work if the drivers are incorrect. Check that your stick is fully supported by running "dxdiag" - you should already have it installed as part of DirectX. Click on the "Save All Information" button and it will create a text file. If you open that file, under the section for your joystick there should be several entries like this:
FF Driver: C:\Windows\System32\pid.dll
FF Driver Date: 10/30/2015 07:18:09
FF Driver Version: 10.00.10586.0000
FF Driver Size: 45568 bytes
If it says "FF Driver: n/a" then there's definitely no force driver installed, so please visit the manufacturer's website and try to find the correct drivers.
You can also try the "DirectX Force Test Program", available for free from https://www.fsmissioneditor.com/downloads/ . This will let you simply select a controller and send individual commands to it. If your stick shows forces in the test program but not in X-Plane then please get in touch. If the Force Test program also doesn't list your controller, or the forces don't work, then it's either a driver or a hardware problem.
Finally of course, you can try using any other force-enabled game you have.
The plugin adds force-feedback support to X-Plane 9 and higher and will soon be available for Linux - despite the current problems with Linux and force-feedback drivers! If you would like to be involved in pre-release testing then please contact us at support@fsmissioneditor.com .
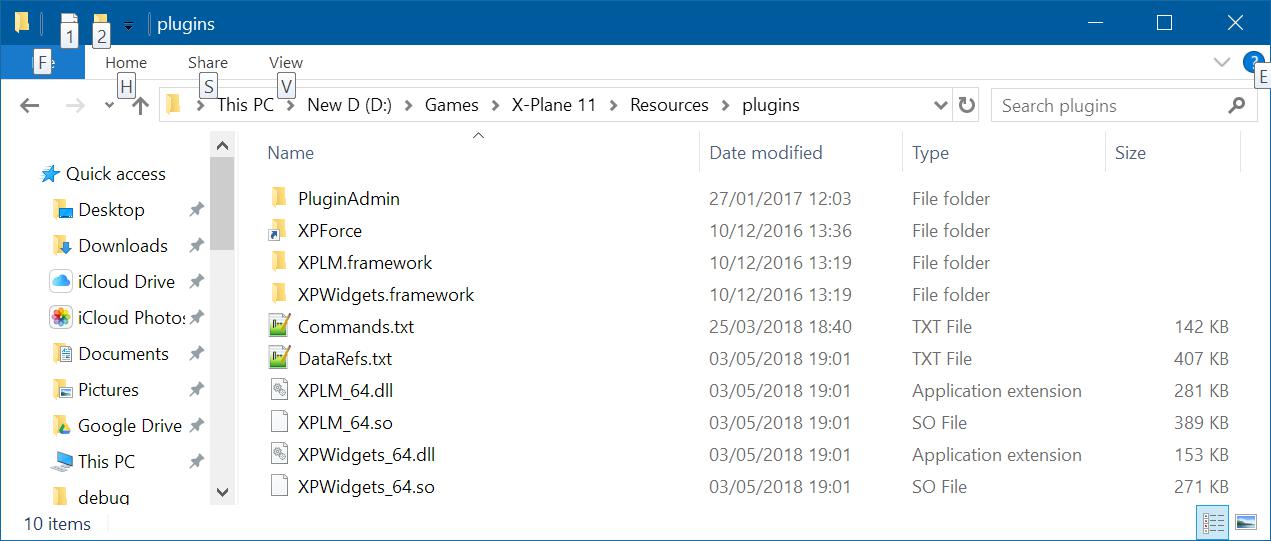
The plugin itself is very easy to install. Simply download the zip file and extract it to your "X-Plane/Resources/plugins" folder. Start X-Plane and the plugin will be picked up automatically.
At present the Linux version of XPForce is experimental, given that the underlying drivers are very limited.
If it's any consolation, Mac support for force-enabled controllers is even worse!
Preparing the Linux system to work properly with force-feedback joysticks is considerably more complex than in Windows, where it is ready to use as soon as it is plugged in. To send force-feedback commands to the stick, a special filed called a "device node" must be set to read-write To do this, you need to know the name of the device. Unfortunately this name can change frequently, and the read-write setting can be lost if you unplug the joystick or reboot. Your Linux distribution may set all this up for you.
All of the following commands should be run as the root user. The method for doing this varies between Linux distributions, but will typically be "sudo" or "su -c".
# lsinput | more
This will give you lots of text on screen depending on how many input devices you have. You need to find the one that matches your joystick. The example below shows the entry for the Microsoft Force Feedback 2:
/dev/input/event4
bustype : BUS_USB
vendor : 0x45e
product : 0x1b
version : 256
name : "Microsoft SideWinder Force Feedb"
phys : "usb-0000:00:1a.0-1.4/input0"
uniq : ""
bits ev : EV_SYN EV_KEY EV_ABS EV_MSC EV_FF
The device node for this joystick is "/dev/input/event4". This may change on reboot, or if you unplug the joystick!
Again as root, run the following command to test the forces on this device. Use the correct device node name that you found.
# fftest /dev/input/event4
If the joystick is supported in Linux, you will get the following text displayed:
Device /dev/input/event4 opened
Features:
* Absolute axes: X, Y, RZ, Throttle, Hat 0 X, Hat 0 Y,
[63 00 03 00 00 00 00 00 ]
* Relative axes:
[00 00 ]
* Force feedback effects types: Constant, Periodic, Ramp, Spring, Friction, Damper, Rumble, Inertia, Gain, Autocenter,
Force feedback periodic effects: Square, Triangle, Sine, Saw up, Saw down,
[00 00 00 00 00 00 00 00 00 00 FF 1F 03 00 00 00 ]
* Number of simultaneous effects: 40
Setting master gain to 75% ... OK
Uploading effect #0 (Periodic sinusoidal) ... OK (id 0)
Uploading effect #1 (Constant) ... OK (id 1)
Uploading effect #2 (Spring) ... OK (id 2)
Uploading effect #3 (Damper) ... OK (id 3)
Uploading effect #4 (Strong rumble, with heavy motor) ... OK (id 4)
Uploading effect #5 (Weak rumble, with light motor) ... OK (id 5)
Enter effect number, -1 to exit
Note the "OK" messages after "Uploading effect". If the Linux joystick driver is broken, you will instead get "Error: Function not implemented". In current Linux kernels, the driver for the Microsoft Sidewinder Force Feedback 2 is broken. However, I have created a kernel patch which can be used to fix this driver, and will hopefully make it into the Linux kernel soon. Please see the "Patching Linux to support Force Feedback" page for instructions.
As a non-root user, try the "fftest" program again. If you still get the "OK" messages and the forces work then you are ready to start X-Plane! If you get "Open device file: Permission denied", then there are more steps you need to follow.
Every time a new device is plugged in, including when you reboot, it is set up automatically by Linux. If you get "Permission denied" as a normal user then Linux is not setting it up correctly. To fix this, you need to add uDev rules to force the joystick to be set up as read-write for all users.
Again using the device node name you found, and as root, use this command to find the joystick's manufacturer and product codes:
# udevadm info -an /dev/input/event4 | grep -E "idVendor|idProduct" | head -2
ATTRS{idVendor}=="045e"
ATTRS{idProduct}=="001b"
Now create a new file in /etc/udev/rules.d called "99-XPlane_Joystick.rules" . You will need to be root to do this. Edit the file to contain the following line, changing the codes for "idVendor" and "idProduct" to match the ones printed by udevadm.
KERNEL=="event*", ATTRS{idProduct}=="001b", ATTRS{idVendor}=="045e", MODE="0666"
Save the file, then unplug and reconnect the joystick. Re-run the steps above to find the device node since it may now be different. Re-run fftest using the new device node name.
Currently (February 2015) the Linux kernel support for PID devices such as the Microsoft Sidewinder Force Feedback 2 is broken, and has been for several years. During the porting of XPForce to Linux, I have fixed several bugs in the kernel driver and am happy to say that it is now fully working. Of course, until that patch makes it into the kernel, you will need to apply the patch yourself.
The following two links are for bug reports, and the code of the patch, for Redhat-based and Debian-based systems respectively. The patch is identical, but you may want to add yourself to the mailing list to get any updates as they happen and to show the maintainers that there is some interest in getting the SWFF2 working under Linux.
You should be comfortable with the process of downloading and building a kernel, and in particular, of how to recover if it goes wrong. The steps below are a rough description of how to complete the process but are undertaken entirely at your own risk. I will under no circumstances provide free support for this process, nor for recovering your system if it goes wrong. In rebuilding the kernel or associated modules you run the risk of making your Linux system unusable. With all due respect to the Linux fundamentalists, if you're going to run it as a desktop system then you have to realise that underneath the desktop gloss it's a complex, Unix-like server O/S and sometimes needs to be treated as such.
When a new version is released, simply download and install it in exactly the same way as you did with the original version. Please check that you are still entitled to free upgrades before you install! You can do this on the helpdesk by logging in and selecting the "Licenses" option. If you installed using the Windows Installer (MSI) package, there is no need to remove the old version first.
The plugin can check for updates both manually and automatically. If an upgrade is available it will tell you whether your free upgrade period has expired.
First, find your X-Plane installation folder. The XPForce logfile is in the "Output" directory, called "XPForce.log".
If you have had a crash which X-Plane says is caused by XPForce, please also send the X-Plane log. This is in the X-Plane installation folder, called "Log.txt".
All of them!
While it is possible for aircraft to come with predefined forces, it seems that this is almost never done. XPForce calculates the required forces itself, based on the characteristics of the individual aircraft. Neither the aircraft designer, nor you, need to alter the aircraft.cfg to "support" forces.
All X-Plane plugins need to be put inside the "plugins" folder: